Getting Started in 3Ds Max
Quick guide on how to set-up and start Craft Director Studio in Autodesk Maya
- Installing Craft Director Studio
- 3ds max plug-in configuration
- Opening Craft Director Studio in 3ds Max
Installing Craft Director Studio
Windows
- Download the latest version of Craft Director Studio for Windows from the Craft Director Studio product page.
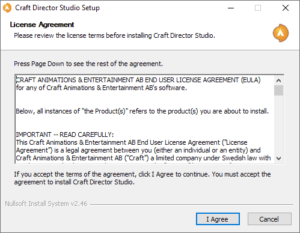
- Run the installer, read and accept the End User License Agreement.
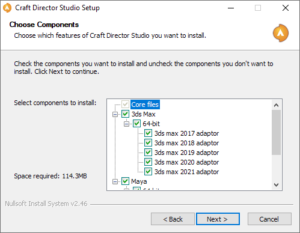
- In the first step of Choose Components, the installer will automatically select the 3d programs found (if installed properly). Please check and make any desired changes.
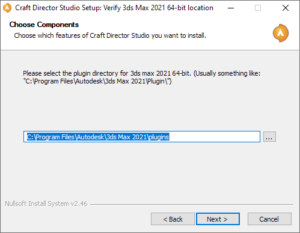
- In the following step the installer will ask for the folders to place the plugin file for each 3ds Max and Maya version. The installer will automatically detect the path to each of the 3d programs (if installed correctly). If for some reason the installer has selected the wrong or no folder you can change the path as desired.
- In the next step “Choose Install Location” you select where the Craft Director Studio shared files are to be installed.
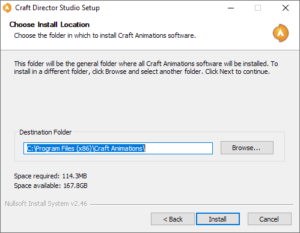
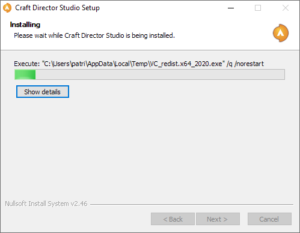
- Hit install to start installing the files and once the files are installed you can click Next.
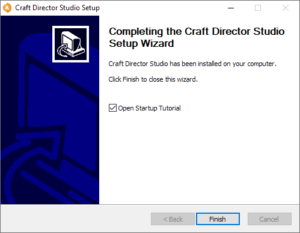
- On the next screen you have the option let the installer open the support pages for Craft Director Studio which includes help pages to get going and using Craft Director Studio.
3ds Max plug-in configuration
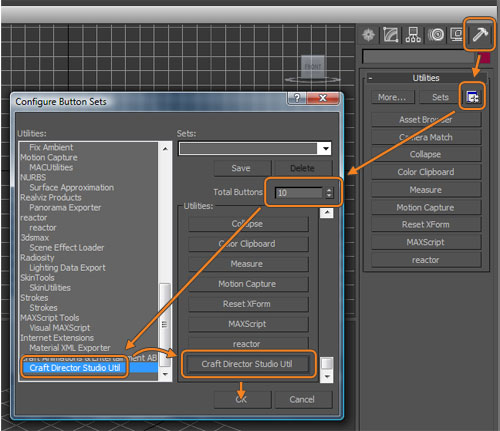
- Start 3ds Max.
- Click on the Utilities tab in Panels.

- Click on the Configure Button Sets button.

- Increase the Total Buttons so you have a blank button in the list.
- Drag Craft Director Studio Util to the blank button.
- Click on the OK button to complete the process.
Opening Craft Director Studio in 3ds Max
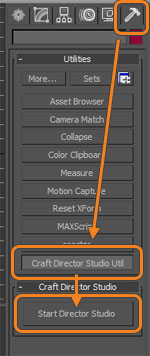
- Start 3ds Max.
- Click on the Utilities tab in Panels.

- Click on the Craft Director Studio Util button and the Start Craft Director Studio button will appear.
- Click on the Start Craft Director Studio button to open up the Craft Director Studio window.